Bed Prep and Shed Pad Work Done the Right Way
Most people only think about what a yard looks like after the mulch goes down. But what happens underneath matters just as much - maybe more. Skipping proper prep is how you end up with weeds pushing through in a few weeks and mulch that shifts every time it rains.
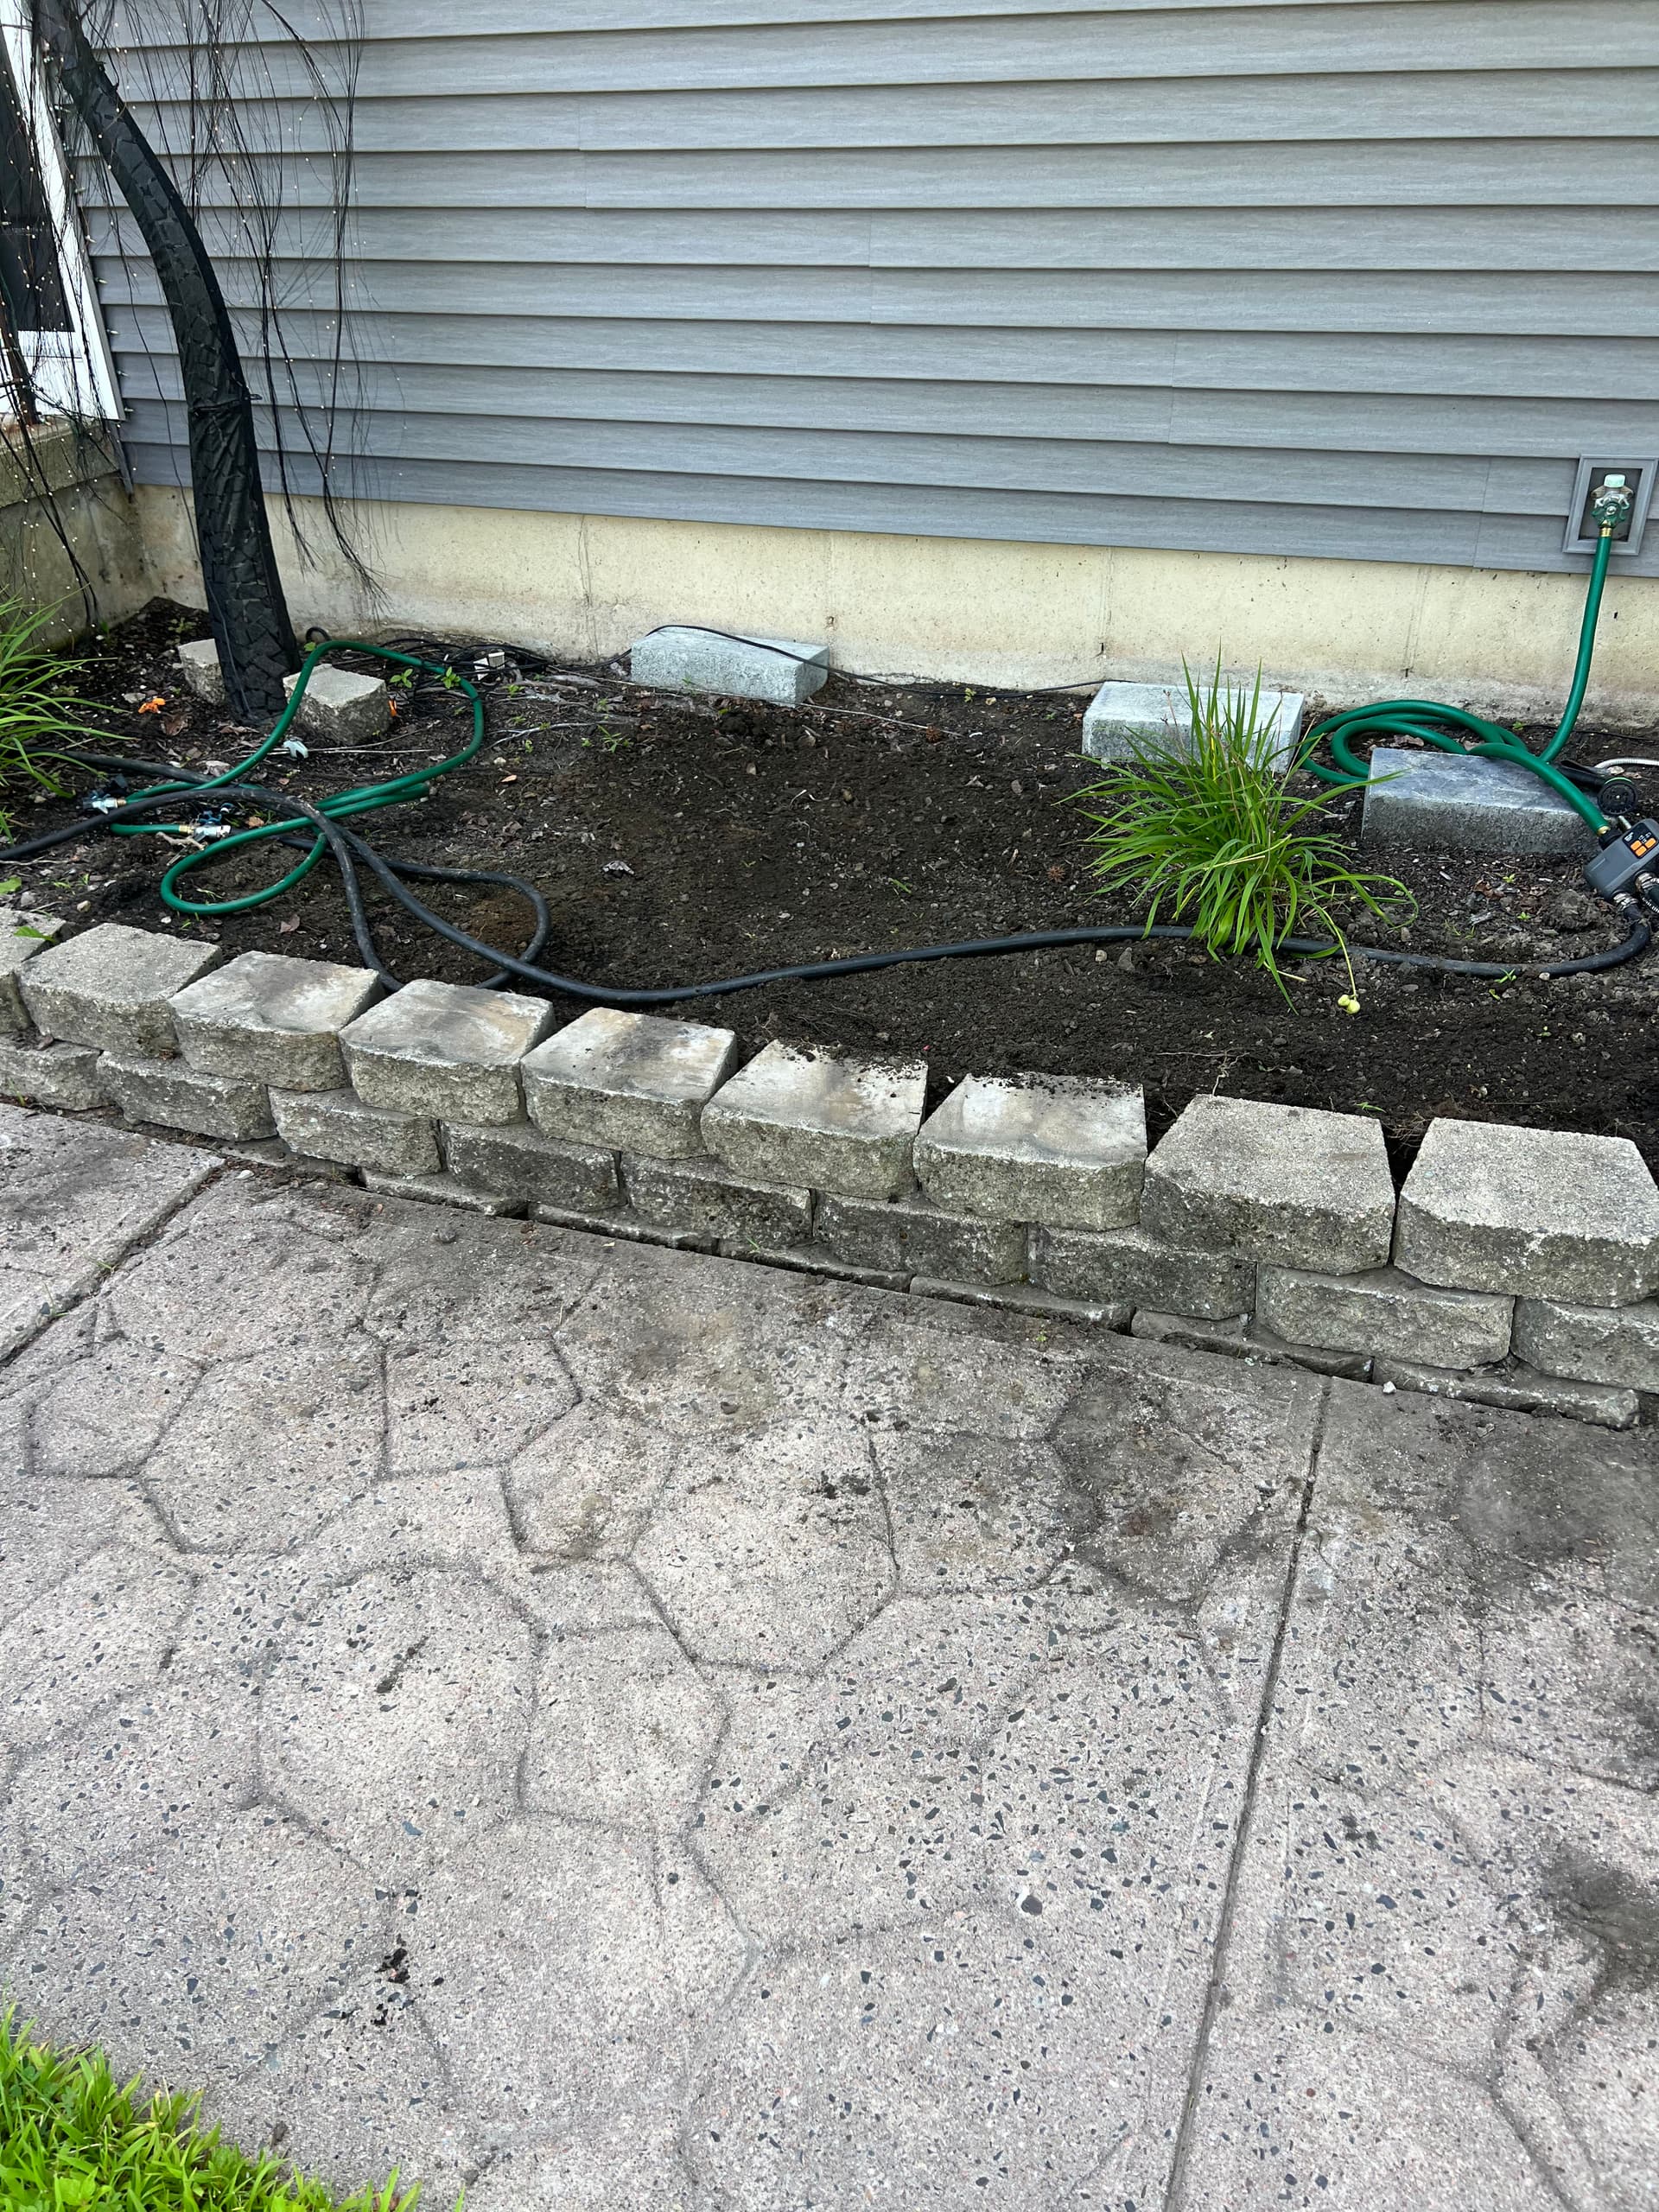
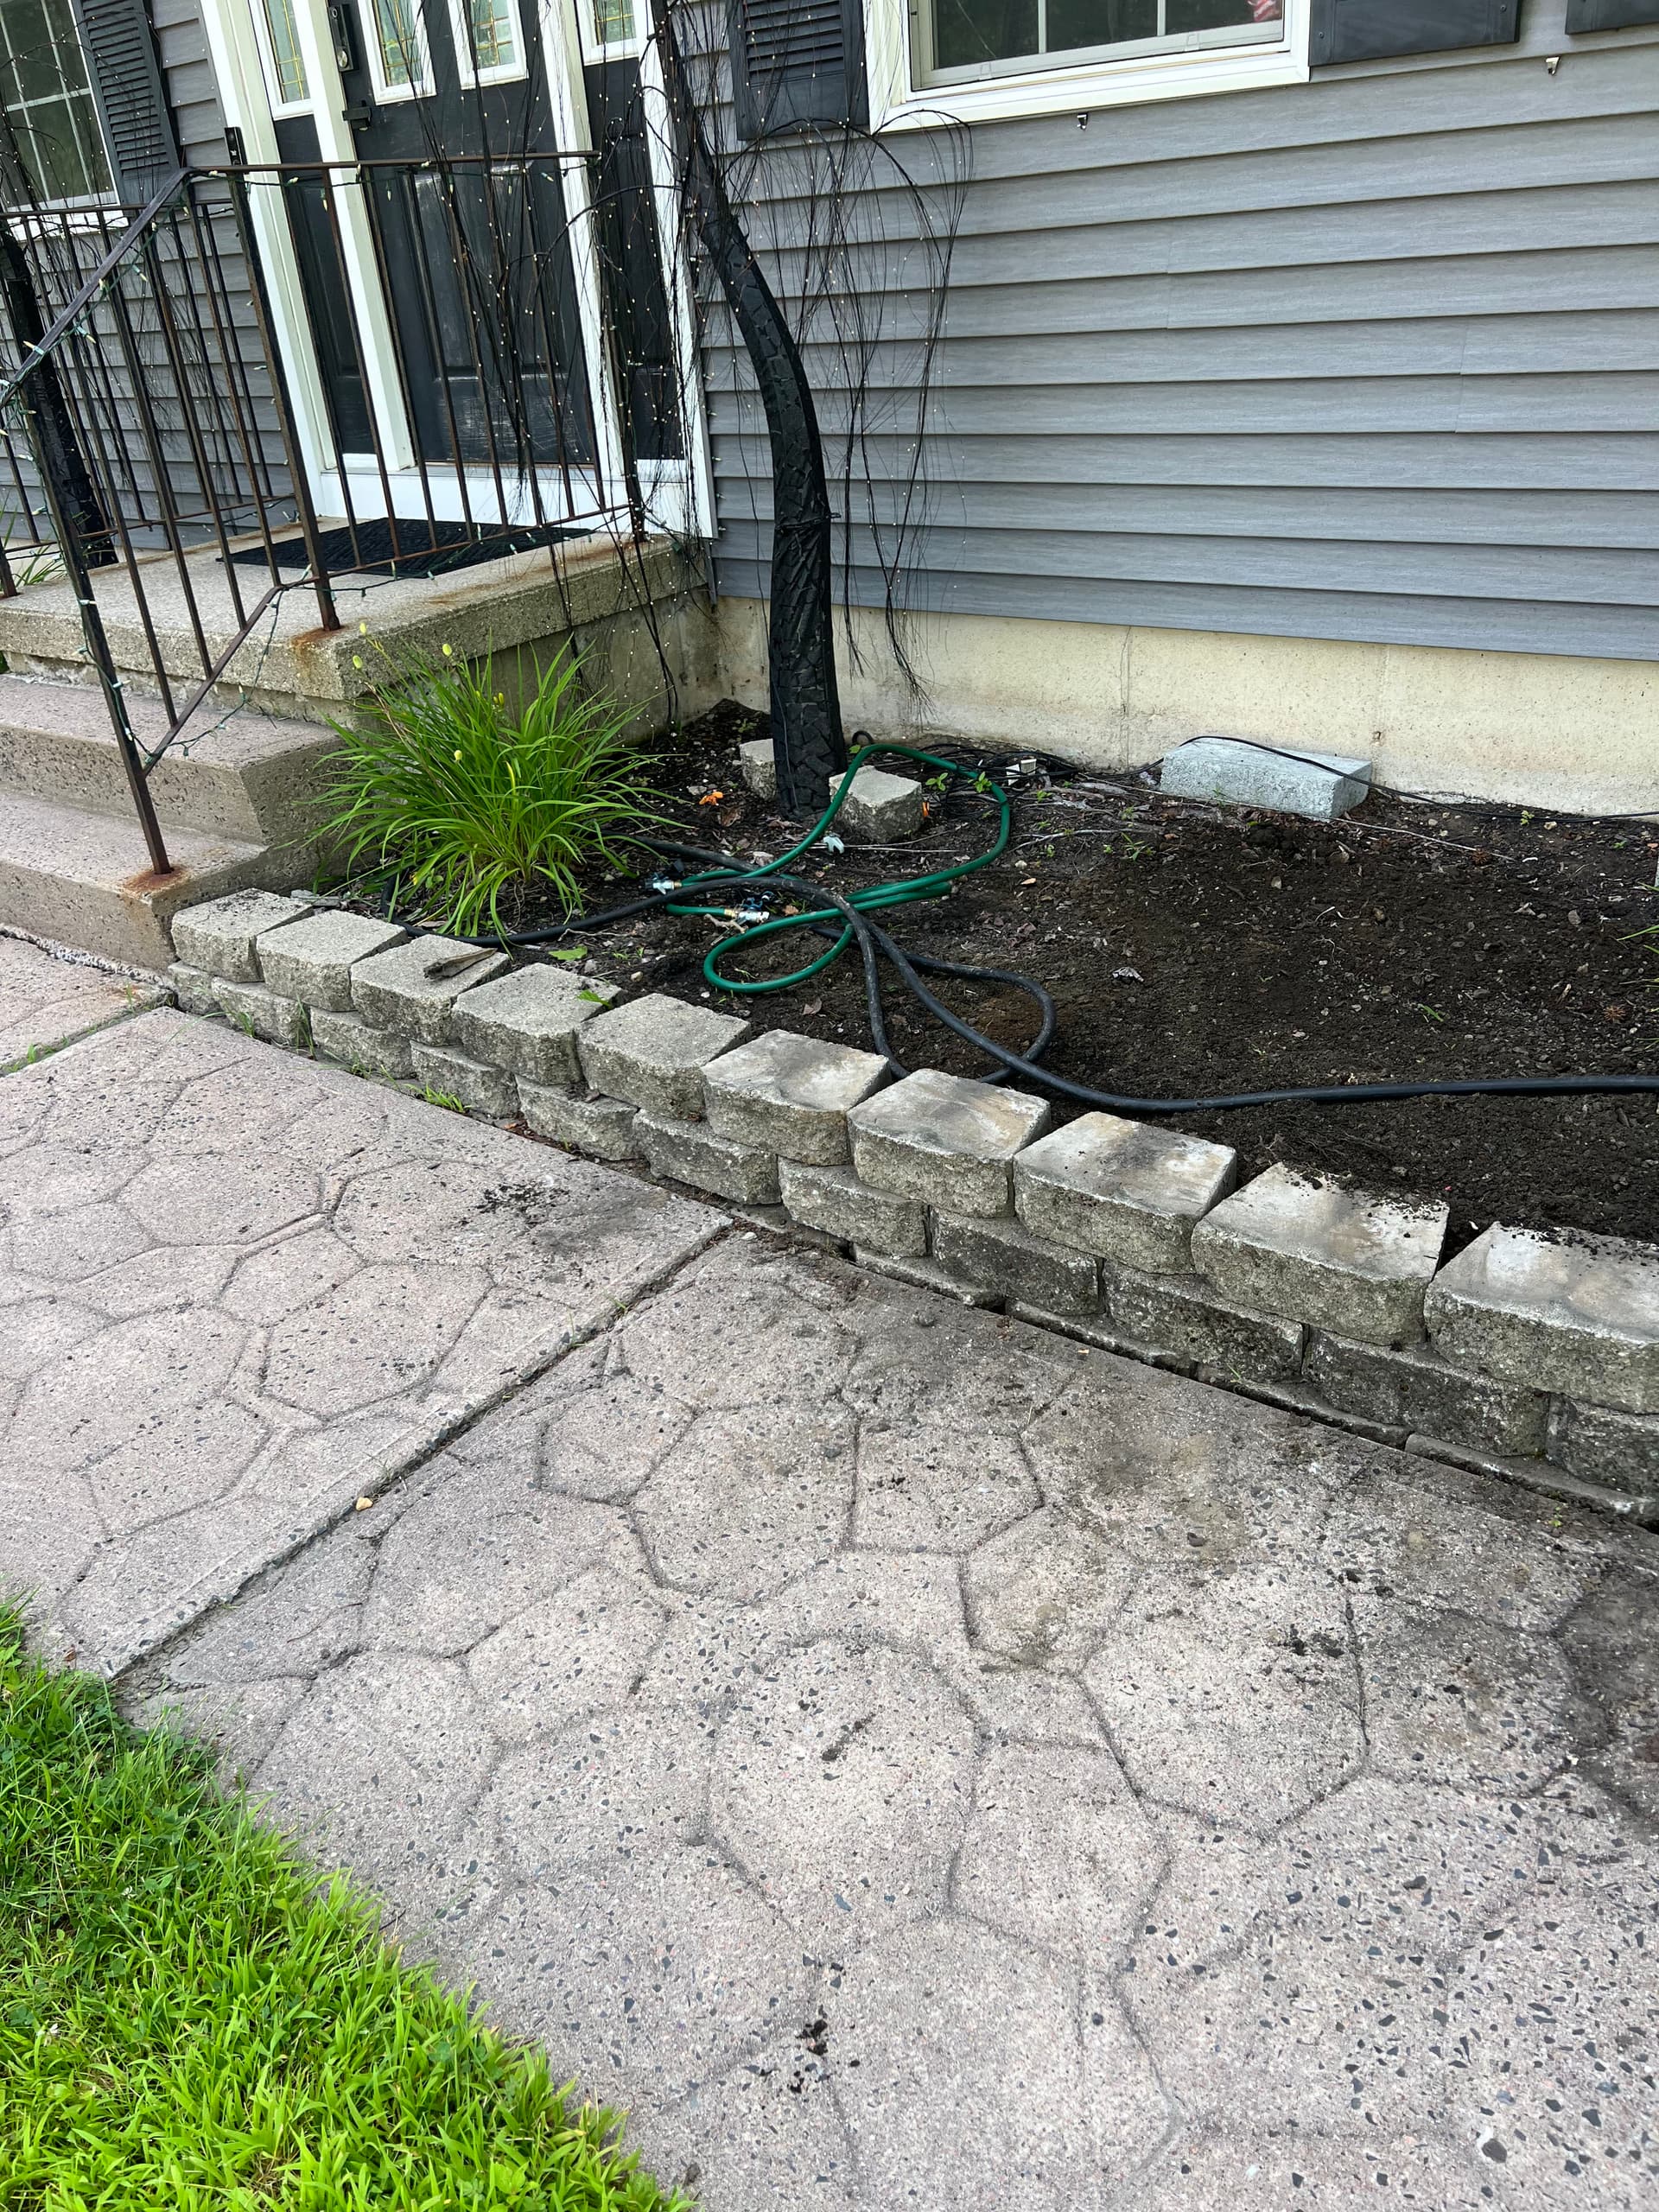
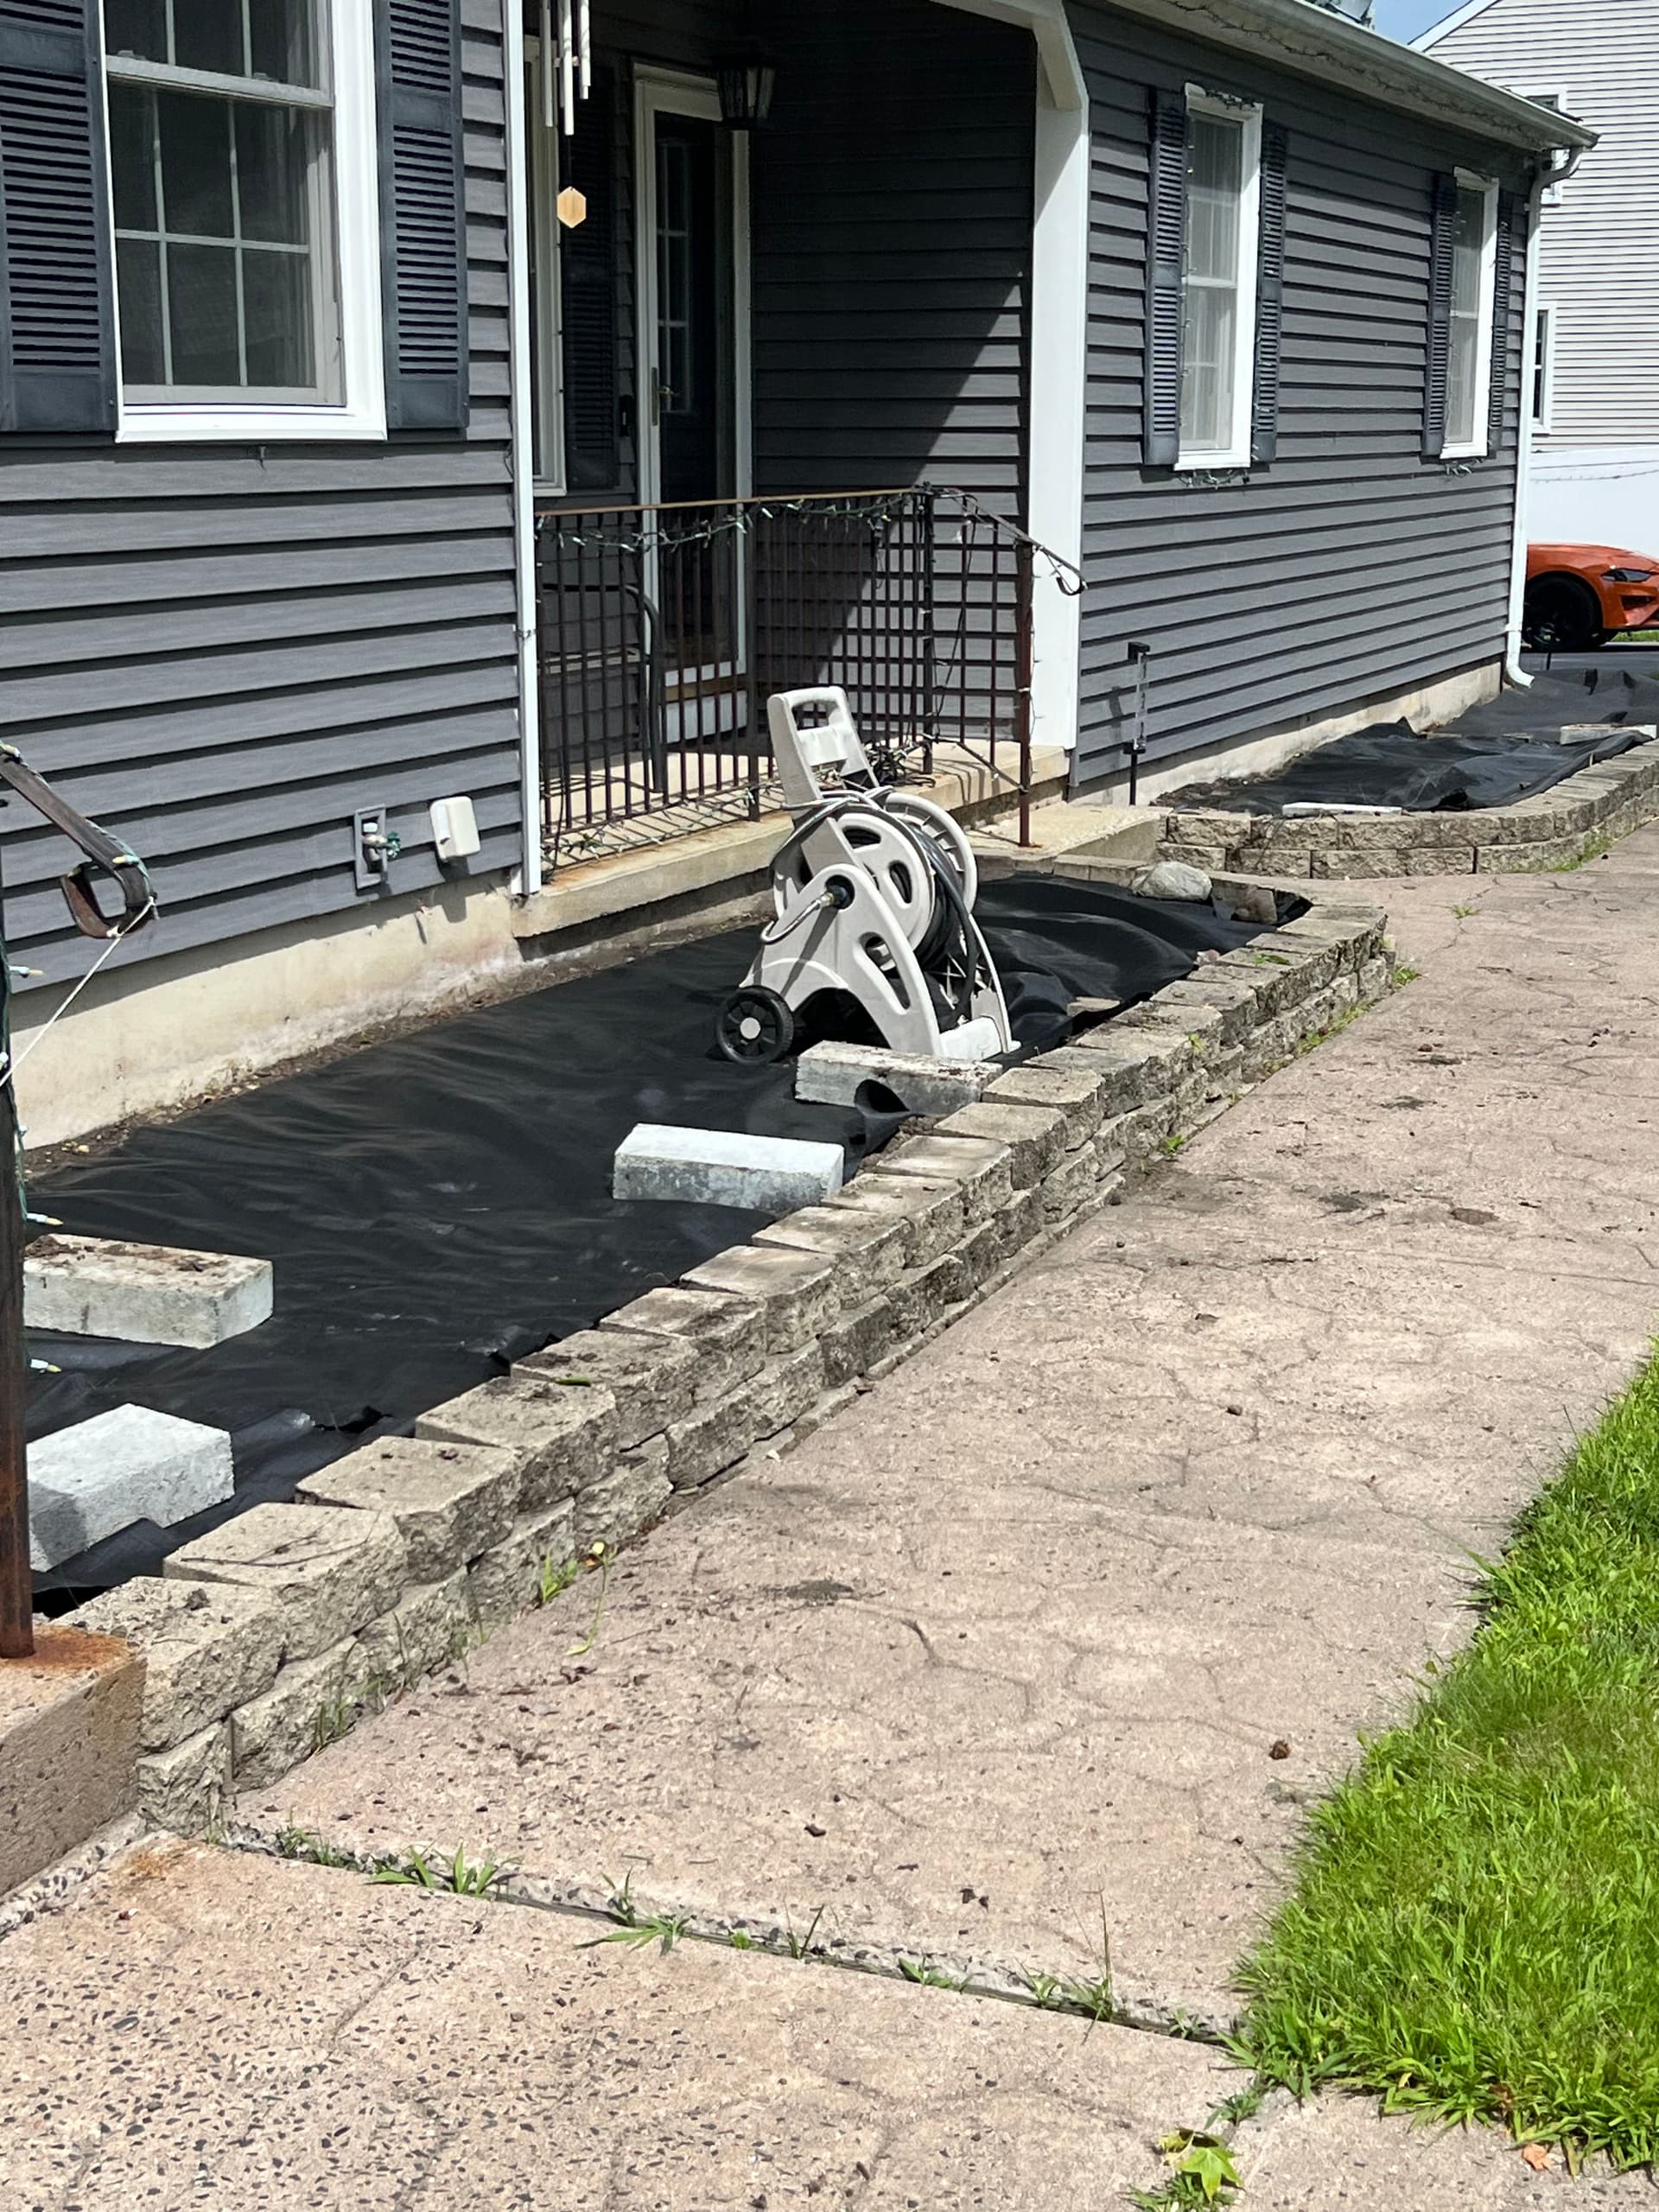
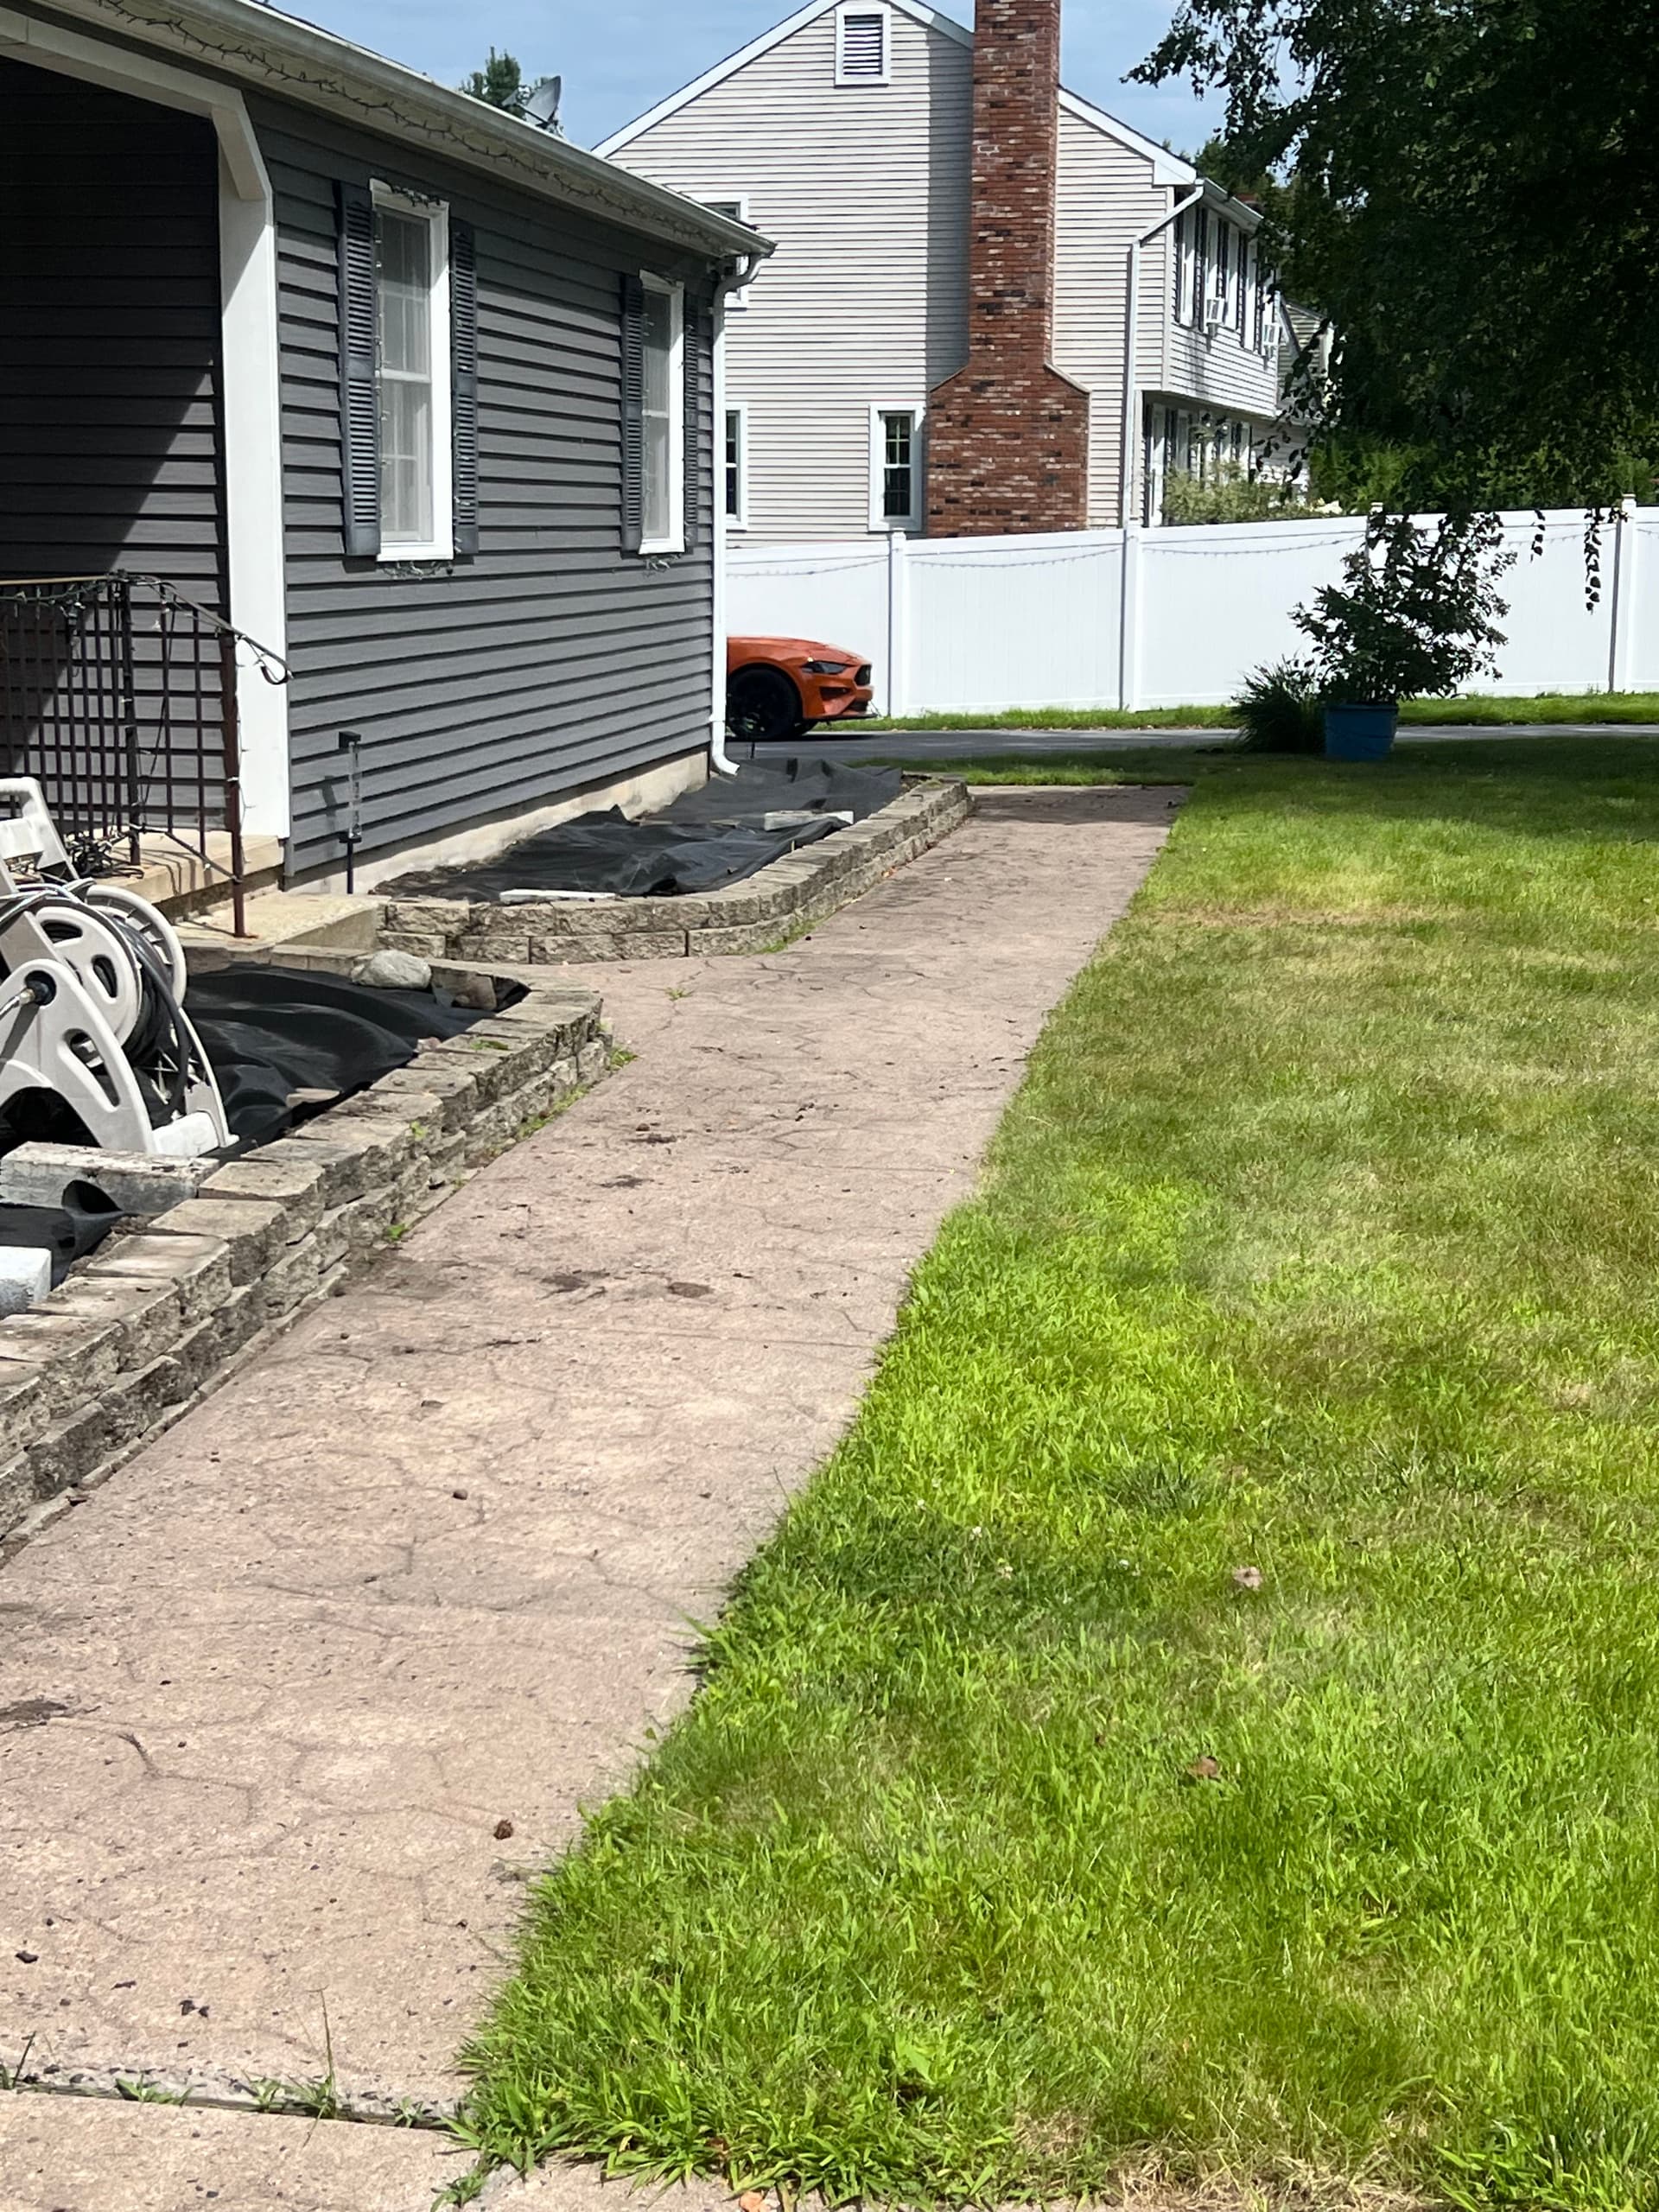
Here's what we were working with on this one: existing stone-edged planting beds that needed to be cleaned out, fresh soil worked in, and landscape fabric laid down before anything else happened. The fabric goes wall to wall, edge to edge, tucked in tight against that block edging. That's what keeps weeds from taking over and helps the mulch sit cleanly once it goes in.
We're also setting the groundwork for a 25x25 shed pad on this property. That's not a small footprint. Getting the base right - level, compacted, properly framed out - is what separates a pad that holds up from one that shifts and settles after the first winter. We don't rush that part.
This is the kind of work that isn't flashy to look at mid-process, but it's exactly what makes the finished product look sharp and stay that way. Good landscape design and hardscaping both start with a solid foundation. Every time.
If your beds are overgrown or you've been putting off that backyard structure, this is what the starting line looks like when it's done right.